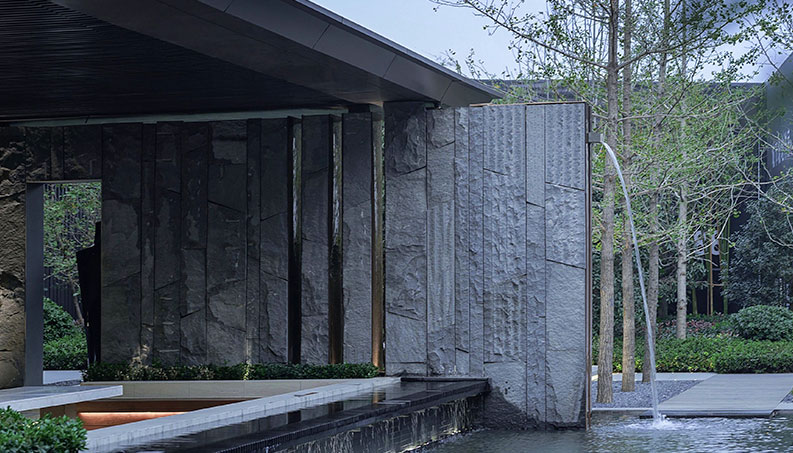
The installation process for PU Stone in exterior applications typically involves several steps to ensure a secure and visually appealing finish.

1. Surface Preparation
Clean the Surface: Ensure that the exterior surface where the PU Stone will be installed is clean, dry, and free of dust, grease, and loose particles.
Repair Any Damage: Address any cracks or imperfections on the surface that could affect the installation or appearance of the PU Stone.
2. Layout and Planning
Plan the Layout: Determine the layout and pattern in which the PU Stone will be installed on the exterior surface. This may involve dry-fitting the pieces to ensure proper alignment and spacing.
3. Adhesive Application
Select an Adhesive: Choose a suitable construction adhesive recommended for bonding PU Stone to the specific exterior surface material (e.g., concrete, wood, metal).
Apply Adhesive: Apply the adhesive to the back of the PU Stone panels using a caulking gun or trowel. Ensure even coverage to promote strong adhesion.
4. Installation
Positioning: Carefully place the PU Stone panels onto the prepared surface, following the planned layout and pattern.
Pressing and Securing: Press the panels firmly against the surface to ensure good contact with the adhesive. Use temporary supports or clamps to hold the panels in place while the adhesive cures.

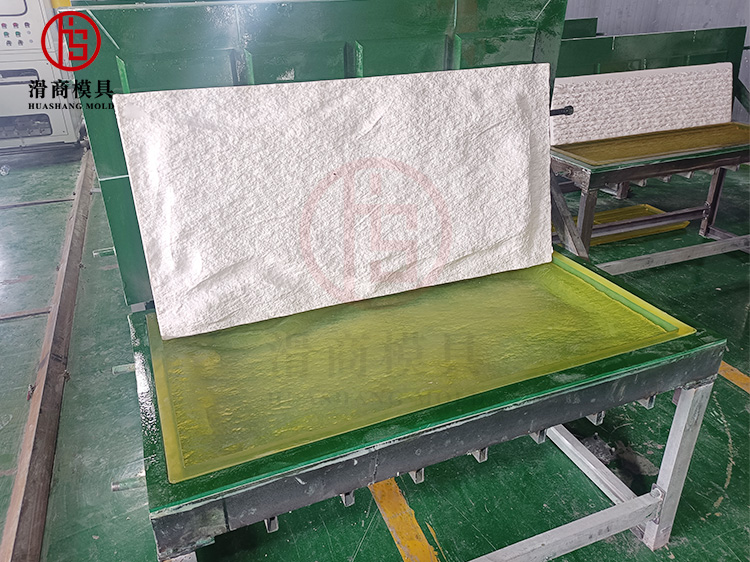
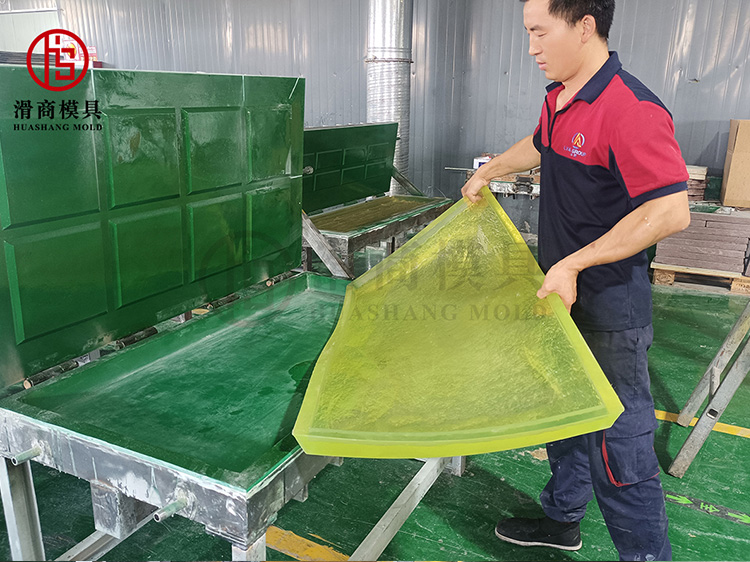
PU Artificial Stone Wall Panel Mold
5. Cutting and Shaping
Trimming: Use a saw or utility knife to trim the PU Stone panels as needed to fit around corners, edges, or obstacles.
Shaping: Shape the panels to create a seamless transition between pieces or to accommodate architectural features.
6. Grouting
Optional: Depending on the desired aesthetic, you may choose to apply grout between the PU Stone panels to enhance the appearance and create a more realistic look.
7 . Finishing Touches
Cleaning: Clean the installed PU Stone surface with a damp cloth or sponge to remove any adhesive residue or grout marks.
Sealing (Optional): Consider applying a sealant to the PU Stone surface to enhance durability and protect against moisture penetration.
8. Curing and Inspection
Allow to Cure: Let the adhesive and grout cure as per the manufacturer’s recommendations before subjecting the installation to heavy use or exposure to the elements.
Inspect: Once the installation is complete, inspect the PU Stone surface for any imperfections or areas that may require touch-ups.
By following these steps and ensuring proper surface preparation and adhesive application, you can achieve a professional and long-lasting installation of PU Stone on exterior surfaces, enhancing the aesthetics and durability of the building’s façade.

Selecting the right adhesive for installing PU stone on various exterior surfaces is crucial to ensure a strong and durable bond. Different types of adhesives are designed to work effectively with specific materials commonly found in exterior construction. Here are some recommendations for the best types of adhesives for different exterior surfaces when installing PU stone:
1. Concrete or Masonry Surfaces:
Recommended Adhesive: Polyurethane Construction Adhesive or Polyurethane Sealant/Adhesive.
Reason: Polyurethane adhesives are ideal for bonding PU stone to concrete or masonry surfaces due to their excellent adhesion, flexibility, and resistance to weathering.
2. Wood Surfaces:
Recommended Adhesive: Polyurethane Construction Adhesive or Construction Adhesive for Wood.
Reason: Polyurethane adhesives are suitable for bonding PU stone to wood surfaces, providing a strong and durable bond that can withstand outdoor conditions.
3. Metal Surfaces:
Recommended Adhesive: Epoxy Adhesive or Construction Adhesive for Metal.
Reason: Epoxy adhesives offer high strength and durability when bonding PU stone to metal surfaces, ensuring a reliable bond that can withstand temperature variations.
4. Vinyl or PVC Surfaces:
Recommended Adhesive: PVC Adhesive or Multipurpose Adhesive.
Reason: Adhesives specifically designed for bonding PVC or vinyl materials are recommended for attaching PU stone to these surfaces, ensuring a secure and long-lasting bond.
5. Fiber Cement Surfaces:
Recommended Adhesive: Fiber Cement Adhesive or Multipurpose Construction Adhesive.
Reason: Adhesives formulated for fiber cement are suitable for bonding PU stone to these surfaces, providing a strong bond that can withstand exposure to the elements.
6. Drywall or Gypsum Board Surfaces:
Recommended Adhesive: Construction Adhesive for Drywall or Gypsum Board.
Reason: Adhesives designed for drywall or gypsum board are suitable for attaching PU stone to these surfaces, providing a secure bond that can support the weight of the stone panels.

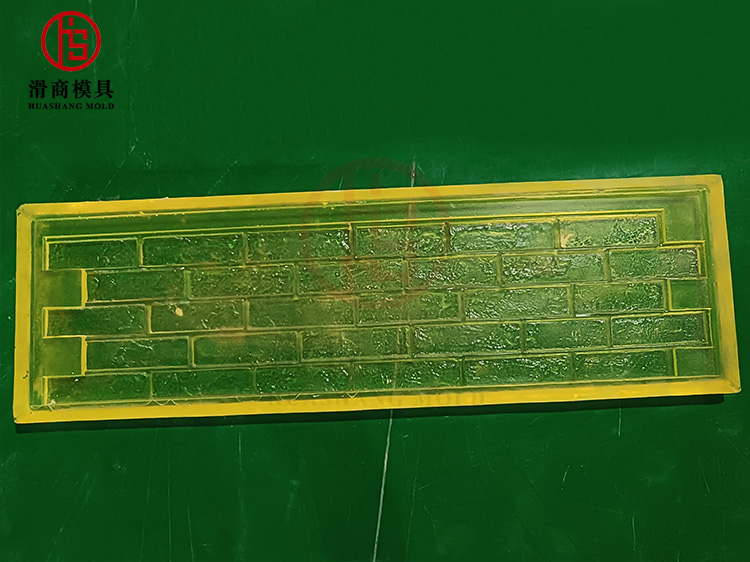
PU Artificial Stone Mold